

Hey there! As a supplier of EV charger testers, I get a ton of questions about the installation requirements for these nifty devices. Whether you're a professional installer or a DIY enthusiast looking to set up an EV charger tester, it's crucial to understand what goes into getting it installed correctly. So, let's dive right in and explore what you need to know.
1. Electrical Requirements
One of the first things to consider when installing an EV charger tester is the electrical setup. EV charger testers typically require a stable power source to function accurately. Most testers are designed to work with standard electrical systems, but it's essential to double - check the voltage and amperage requirements of your specific model.
For instance, some DC EV Charger Tester might need a higher voltage input compared to others. You'll probably want to have a dedicated circuit for your tester to avoid any power fluctuations that could affect the test results. Make sure your electrical panel can handle the additional load. If you're unsure, it's a good idea to consult an electrician. They can help you determine if your current electrical system can support the tester or if you need to make any upgrades.
2. Location, Location, Location
The location where you install your EV charger tester matters big time. You want to place it in a spot that's easily accessible for testing but also protected from the elements. Extreme temperatures, moisture, and dust can all have a negative impact on the tester's performance and lifespan.
If you're installing the tester outdoors, look for a weatherproof enclosure. A well - sealed enclosure will keep the tester safe from rain, snow, and UV rays. Inside a garage or a charging station, you still need to ensure proper ventilation. Heat build - up can damage the internal components of the tester, so make sure there's enough space around it for air to circulate.
Also, consider the proximity to the EV charger itself. You'll want to install the tester close enough to the charger to easily connect it during testing, but not so close that it's at risk of getting damaged by any accidental impacts from vehicles or charging connectors.
3. Mounting and Stability
Proper mounting is key to ensuring the stability of your EV charger tester. Most testers come with mounting brackets or instructions on how to securely attach them. If you're mounting the tester on a wall, make sure the surface is strong enough to support its weight.
For heavier or larger testers, you might need to use wall anchors or mounting bolts to ensure a secure fit. If you're mounting it on a stand or a platform, make sure it's level and won't tip over easily. A wobbly tester can lead to inaccurate readings, so take the time to get the mounting right.
4. Connection Requirements
The EV charger tester needs to be properly connected to the EV charger for accurate testing. This usually involves a combination of electrical connections and communication interfaces.
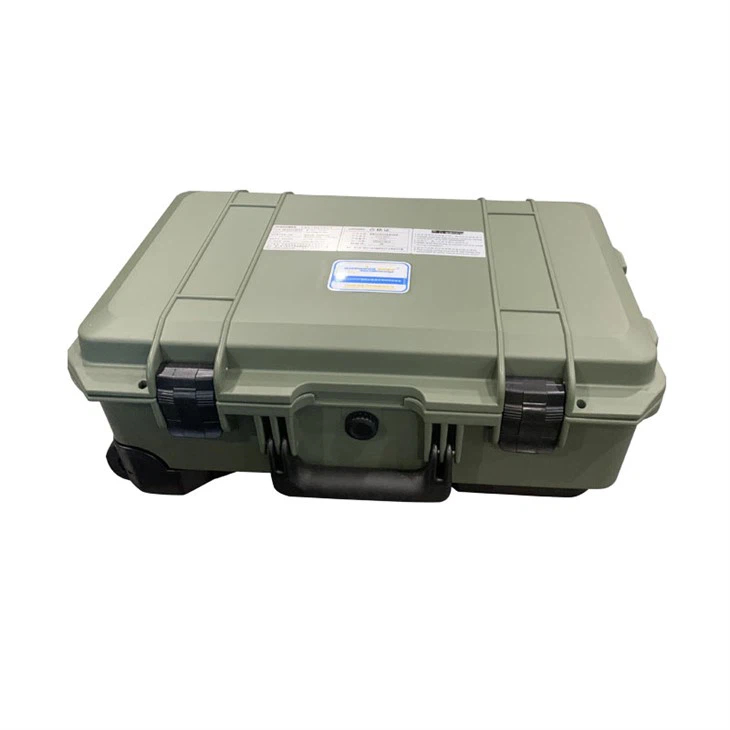

First, you'll need to connect the power cables to the tester's power input. Make sure these connections are tight and free of any corrosion. Loose connections can cause power interruptions and affect the tester's performance.
Next, there are the communication connections. Many modern EV charger testers use protocols like CAN bus or Modbus to communicate with the charger. You'll need to connect the appropriate cables according to the tester's specifications. Incorrect communication connections can prevent the tester from receiving valid data from the charger, making it impossible to conduct accurate tests.
5. Software and Configuration
Don't forget about the software side of things. Most EV charger testers come with their own software that needs to be installed on a computer or a handheld device. You'll need to ensure that your device meets the software's system requirements, such as operating system version, memory, and storage space.
Once the software is installed, you'll need to configure it according to the specific EV charger you'll be testing. This might involve setting up parameters like charger type, voltage ratings, and communication protocols. Incorrect configuration can lead to incorrect test results, so it's important to follow the software's setup wizard carefully.
6. Safety Precautions
Safety should always be your top priority when installing an EV charger tester. Before you start any installation work, make sure to turn off the power to the electrical circuit you'll be working on. This will prevent any electrical shocks or short - circuits.
Wear appropriate safety gear, such as insulated gloves and safety glasses. If you're working at a height, use a sturdy ladder or scaffolding. And always follow the manufacturer's safety instructions provided in the user manual.
Our Best EV Charger Tester
At our company, we offer a range of high - quality EV charger testers. Our Best EV Charger Tester is designed to meet all the industry standards and make your testing process as smooth as possible. It's easy to install, with clear instructions and user - friendly software. Whether you're testing a DC EV Charger Tester or an EV Car Charger Tester, our products have got you covered.
Let's Connect
If you're in the market for an EV charger tester, we'd love to talk to you. We can answer any questions you have about installation requirements, the features of our products, or how they can benefit your business. Whether you're an installer, a maintenance technician, or an EV charger manufacturer, we've got the right tester for you. Reach out to us and let's start a conversation about your testing needs.
References
- "EV Charging Infrastructure Installation Guide" published by industry authorities.
- User manuals of our EV charger testers.