

As a supplier of mini wallbox chargers, I am often asked about the installation process of these compact and efficient charging solutions. In this blog post, I will walk you through the step-by-step installation process of a mini wallbox charger, highlighting key considerations and providing valuable insights to ensure a smooth and successful installation.
Step 1: Pre-Installation Assessment
Before you begin the installation process, it is crucial to conduct a thorough pre-installation assessment. This assessment will help you determine the feasibility of the installation and identify any potential challenges or requirements. Here are some key aspects to consider during the pre-installation assessment:
Electrical Capacity
Check the electrical capacity of your existing electrical system to ensure it can support the additional load of the mini wallbox charger. The charger's power rating will determine the amount of electrical current it requires, so it is essential to consult with a qualified electrician to assess your electrical panel's capacity and make any necessary upgrades.
Location Selection
Choose a suitable location for the mini wallbox charger. The location should be easily accessible, preferably near your electric vehicle parking spot. It should also be protected from the elements, such as rain, snow, and direct sunlight. Additionally, ensure that there is sufficient space around the charger for ventilation and maintenance.

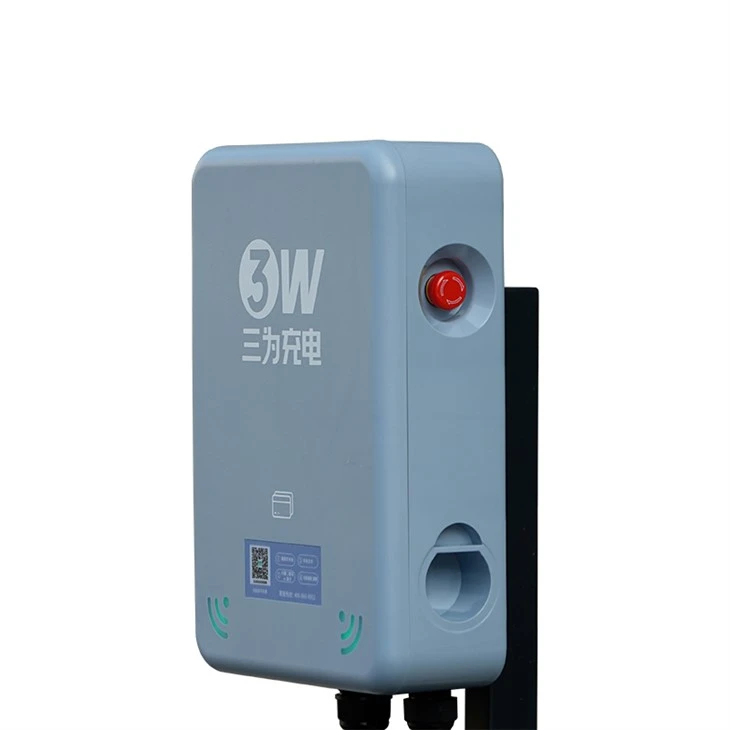
Mounting Surface
The mounting surface for the mini wallbox charger should be sturdy and capable of supporting the weight of the charger. Common mounting surfaces include walls, poles, or dedicated charging stations. Make sure the surface is level and free from any obstructions or debris.
Permits and Regulations
Check with your local authorities to determine if any permits or approvals are required for the installation of the mini wallbox charger. Different regions may have specific regulations regarding electrical installations, so it is important to comply with all applicable codes and standards.
Step 2: Gather the Necessary Tools and Materials
Once you have completed the pre-installation assessment, it's time to gather the necessary tools and materials for the installation. Here is a list of common tools and materials you may need:
Tools
- Screwdriver set
- Drill and drill bits
- Wire strippers
- Electrical tape
- Voltage tester
- Level
Materials
- Mini Wallbox Charger (you can find our Mini Wallbox Charger on our website)
- Mounting hardware (screws, brackets, etc.)
- Electrical cables (appropriate gauge for the charger's power rating)
- Conduit (if required for cable protection)
- Junction box
Step 3: Mount the Wallbox Charger
The next step is to mount the mini wallbox charger to the selected location. Follow these steps to ensure a secure and proper installation:
Mark the Mounting Holes
Using the charger's mounting template or the provided instructions, mark the location of the mounting holes on the wall or mounting surface. Make sure the marks are level and aligned with the charger's mounting points.
Drill the Holes
Using a drill and the appropriate drill bit, drill the holes at the marked locations. Be careful not to drill too deep or damage the underlying structure.
Install the Mounting Brackets
Insert the mounting brackets into the drilled holes and secure them with screws. Make sure the brackets are firmly attached to the wall or mounting surface.
Hang the Charger
Carefully lift the mini wallbox charger and hang it on the mounting brackets. Ensure that the charger is level and properly aligned.
Secure the Charger
Use the provided screws or bolts to secure the charger to the mounting brackets. Tighten the screws securely to prevent the charger from moving or vibrating.
Step 4: Connect the Electrical Wiring
Once the charger is mounted, it's time to connect the electrical wiring. This step requires careful attention to detail and should be performed by a qualified electrician. Here are the general steps for connecting the electrical wiring:
Turn off the Power
Before working on any electrical connections, turn off the power to the circuit at the electrical panel. This will prevent the risk of electric shock.
Prepare the Electrical Cables
Cut the electrical cables to the appropriate length, leaving enough slack for easy connection. Strip the insulation from the ends of the cables using wire strippers.
Connect the Cables to the Charger
Follow the charger's wiring diagram or instructions to connect the electrical cables to the charger. Typically, there will be connections for the live (hot), neutral, and ground wires. Use wire nuts or terminal blocks to secure the connections.
Route the Cables
Route the electrical cables through the conduit (if used) and to the electrical panel. Make sure the cables are properly supported and protected to prevent damage.
Connect the Cables to the Electrical Panel
At the electrical panel, connect the electrical cables to the appropriate circuit breaker or fuse. Use a voltage tester to ensure that the power is off before making any connections.
Turn on the Power
Once all the electrical connections are made, turn on the power to the circuit at the electrical panel. Use a voltage tester to verify that the charger is receiving power.
Step 5: Test the Charger
After the electrical wiring is connected, it's important to test the charger to ensure it is working properly. Here are the steps to test the charger:
Connect an Electric Vehicle
Park your electric vehicle near the mini wallbox charger and connect the charging cable to the vehicle's charging port.
Start the Charging Process
Follow the charger's instructions to start the charging process. The charger should display the charging status and the amount of power being delivered to the vehicle.
Monitor the Charging
Monitor the charging process for a few minutes to ensure that the charger is functioning correctly. Check for any error messages or abnormal behavior.
Disconnect the Charging Cable
Once the charging is complete or you are satisfied with the test, disconnect the charging cable from the vehicle's charging port.
Step 6: Final Checks and Maintenance
After testing the charger, perform a final check to ensure that everything is in order. Here are some final checks and maintenance tips:
Check the Mounting
Inspect the charger's mounting to ensure that it is still secure and level. Tighten any loose screws or bolts if necessary.
Check the Electrical Connections
Inspect the electrical connections to ensure that they are tight and free from any signs of damage or corrosion. If you notice any issues, contact a qualified electrician to address them.
Clean the Charger
Clean the charger regularly to remove any dirt, dust, or debris. Use a soft, dry cloth to wipe the charger's exterior.
Follow the Manufacturer's Recommendations
Refer to the charger's user manual for any specific maintenance recommendations or guidelines provided by the manufacturer.
Conclusion
Installing a mini wallbox charger is a relatively straightforward process that can be completed with the right tools, materials, and knowledge. By following the steps outlined in this blog post and consulting with a qualified electrician, you can ensure a safe and successful installation.
If you are interested in purchasing a mini wallbox charger or have any questions about the installation process, please feel free to contact us. We are a leading supplier of high-quality Mini Wallbox Chargers, 11kW Wallbox Chargers, and 22kW Best Wallbox Chargers. Our team of experts is ready to assist you with your charging needs.
References
- Electrical Installation Codes and Standards
- Manufacturer's User Manual for Mini Wallbox Charger